How to install a Hydraulic Diverter Damper?
As a professional supplier of hydraulic diverter dampers, I'm here to share a comprehensive guide on how to install these crucial components. Hydraulic diverter dampers play a vital role in various industrial systems, controlling the flow of air, gas, or other fluids. Their proper installation is essential for ensuring optimal performance and system efficiency.
1. Pre - installation Preparations
Before starting the installation process, it's necessary to conduct a series of preparations. First, thoroughly examine the hydraulic diverter damper upon arrival. Check for any visible damage during transportation, such as dents, scratches, or loose parts. Ensure that all the components included in the package match the product specification list.
Measure the installation site carefully. The size of the opening where the damper will be installed should precisely match the dimensions of the damper. Any significant discrepancies can lead to improper sealing and reduced performance. Make sure the surrounding area is clean and free from debris, as foreign particles can interfere with the damper's operation.
Gather all the necessary tools for installation. This typically includes wrenches, screwdrivers, measuring tapes, and safety equipment like gloves and goggles. It's also a good idea to have a detailed installation manual on hand, which usually comes with the hydraulic diverter damper.
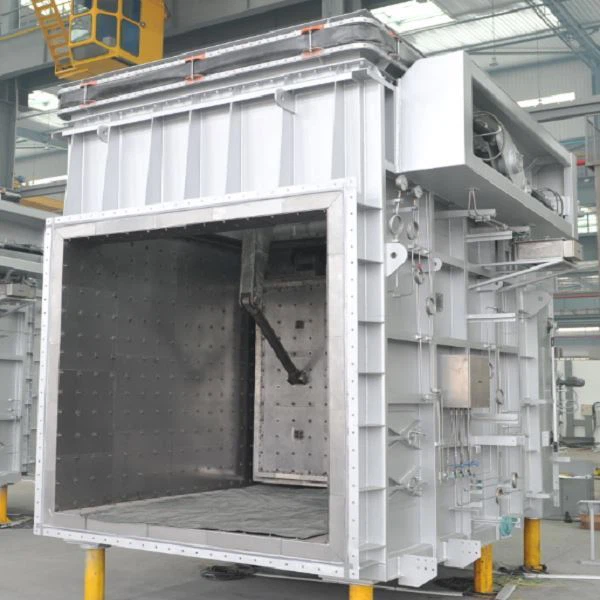
2. Positioning the Damper
Once the preparations are complete, it's time to position the hydraulic diverter damper. Lift the damper carefully and place it into the pre - measured opening. Ensure that the damper is aligned correctly both horizontally and vertically. Use a level to check the alignment, as a misaligned damper can cause uneven wear and tear, and may also lead to air or fluid leakage.
Mark the mounting holes on the surrounding structure. These holes are used to secure the damper in place. Drill the holes according to the marked positions, making sure the drill bit size matches the size of the bolts or screws that will be used for fastening.
3. Securing the Damper
After drilling the holes, insert the bolts or screws through the mounting holes on the damper and into the holes in the surrounding structure. Tighten the fasteners gradually and evenly. Over - tightening can damage the damper or the mounting surface, while under - tightening can result in a loose damper that may vibrate or shift during operation.
Use a torque wrench to ensure that the fasteners are tightened to the recommended torque value specified in the installation manual. This step is crucial for maintaining the structural integrity of the damper and preventing potential safety hazards.
4. Connecting the Hydraulic System
The hydraulic system is an integral part of the hydraulic diverter damper. Connect the hydraulic hoses to the appropriate ports on the damper. Make sure the connections are tight and leak - free. Use proper fittings and seals to prevent hydraulic fluid from leaking out.

Before fully tightening the connections, check the alignment of the hoses to avoid any kinks or bends that could restrict the flow of hydraulic fluid. Once the connections are made, fill the hydraulic system with the recommended hydraulic fluid. Follow the manufacturer's instructions regarding the type and quantity of fluid to use.
5. Electrical and Control System Installation
If the hydraulic diverter damper is equipped with an electrical or control system, such as the [Diverter Damper Control System in Container]( /damper/diverter - damper/diverter - damper - control - system - in - container.html), carefully install the wiring and connect it to the appropriate power source and control panel. Ensure that all electrical connections are secure and properly insulated to prevent short circuits.
Test the control system to make sure it can accurately control the operation of the damper. This may involve running a series of test cycles to verify that the damper can open and close smoothly and stop at the desired positions.
6. Sealing and Insulation
To prevent air or fluid leakage, apply appropriate sealing materials around the edges of the damper. This can include gaskets or sealants. Make sure the sealing materials are compatible with the fluid or gas that the damper will be handling.
In some cases, insulation may also be required to maintain the temperature of the fluid or gas passing through the damper. Install the insulation according to the design requirements, ensuring that it covers the damper evenly and does not interfere with its operation.
7. Final Checks and Testing
After the installation is complete, conduct a final inspection of the entire installation. Check all the connections, fasteners, and seals to make sure they are in good condition. Look for any signs of damage or improper installation.
Perform a series of functional tests on the hydraulic diverter damper. Open and close the damper multiple times to check its smooth operation. Monitor the hydraulic pressure and the response of the control system. If any issues are detected during the testing, troubleshoot and correct them immediately.
8. Maintenance and Support
Regular maintenance is essential for the long - term performance of the hydraulic diverter damper. Follow the manufacturer's recommended maintenance schedule, which may include tasks such as lubricating moving parts, checking the hydraulic fluid level, and inspecting the seals.

As a supplier, we are committed to providing high - quality hydraulic diverter dampers and comprehensive after - sales support. Our products, including [Bypass Damper]( /damper/diverter - damper/bypass - damper.html) and [Fire - proof Duct Diverter Damper]( /damper/diverter - damper/fire - proof - duct - diverter - damper.html), are designed to meet the diverse needs of different industries.
If you are in the market for hydraulic diverter dampers or need more information about installation, maintenance, or our product range, we invite you to contact us for procurement discussions. Our team of experts is ready to assist you in finding the most suitable solutions for your specific requirements.
References
- Manufacturer's Installation Manual for Hydraulic Diverter Dampers
- Industry Standards for Damper Installation and Operation